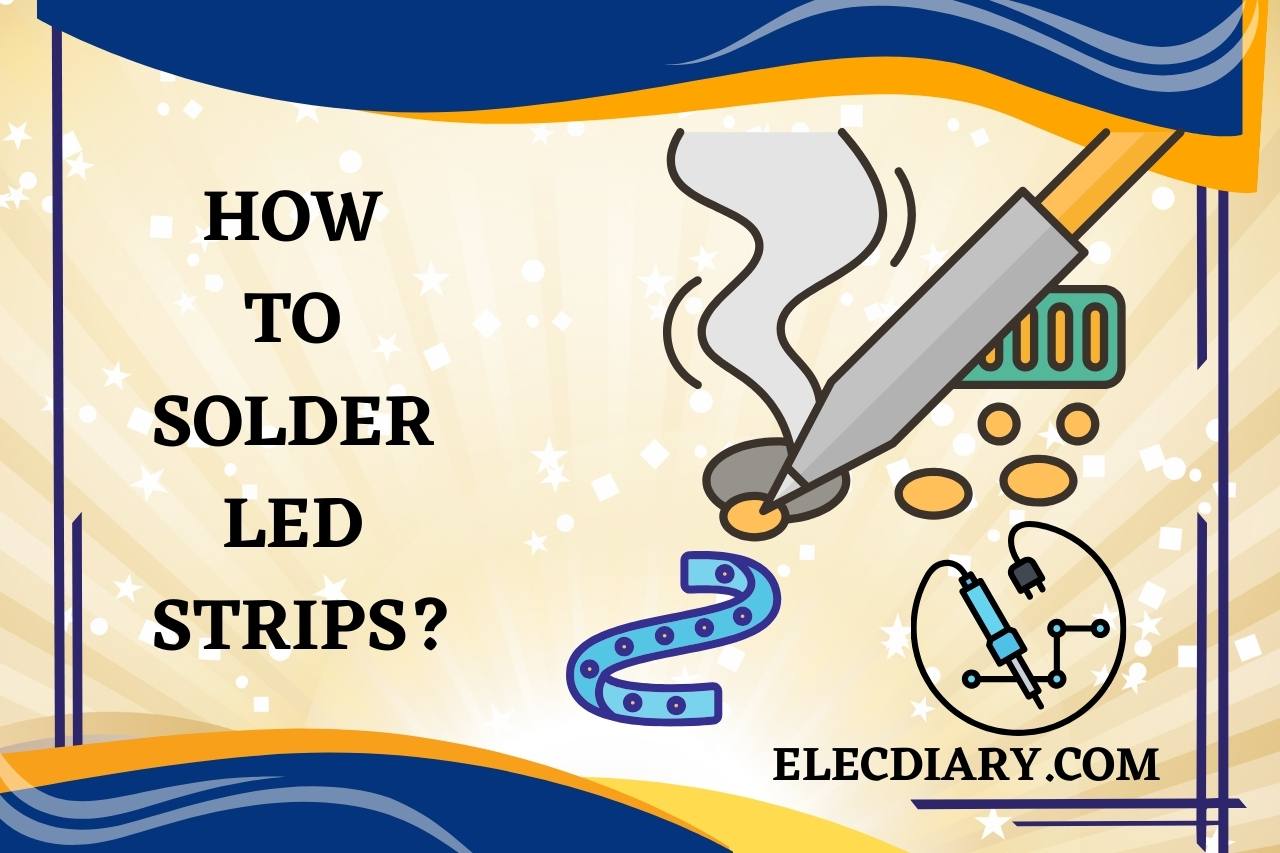
How to Solder LED Strips? (Step-by-Step Guide)
Every application may be adjusted to accommodate LED light strips, no matter what bends, variations or curves. The LED strip lights may be connected in many strips and connected securely by soldering. This article includes “How to solder LED strips” directions and may be used as a template for any kind of strip.
Although simple plug-and-play connectors, including couplings, may appear to be the ideal way for connecting LED Strips to a permanent installation, there is really a superior option. Soldering anything together is a faster approach to completing your installation.
What Equipment will I Need to Begin Soldering LED Strips?
Iron for soldering. Employ a metallic solder iron, although, with caution, a 15–25 watt soldering torch should additionally work.
Fusible soldering. We advise using flux and a Sn60/Pb40 mix solder.
A heat gun.
Assisting hands tool (thus the name; not essential but helpful).
Wire cutters. Utilize a multi-conductor wire remover to simultaneously peel back all the wires before soldering RGB as well as RGBW light strip tape. Expedites processes and keeps cables appearing tidy.
Multiconductor cable.
Regarding this type of thing, a flat, five-conductor LED extension cable works well.
Heated tubing shrinks.
Dimming control for several LED channels.
LED tape.
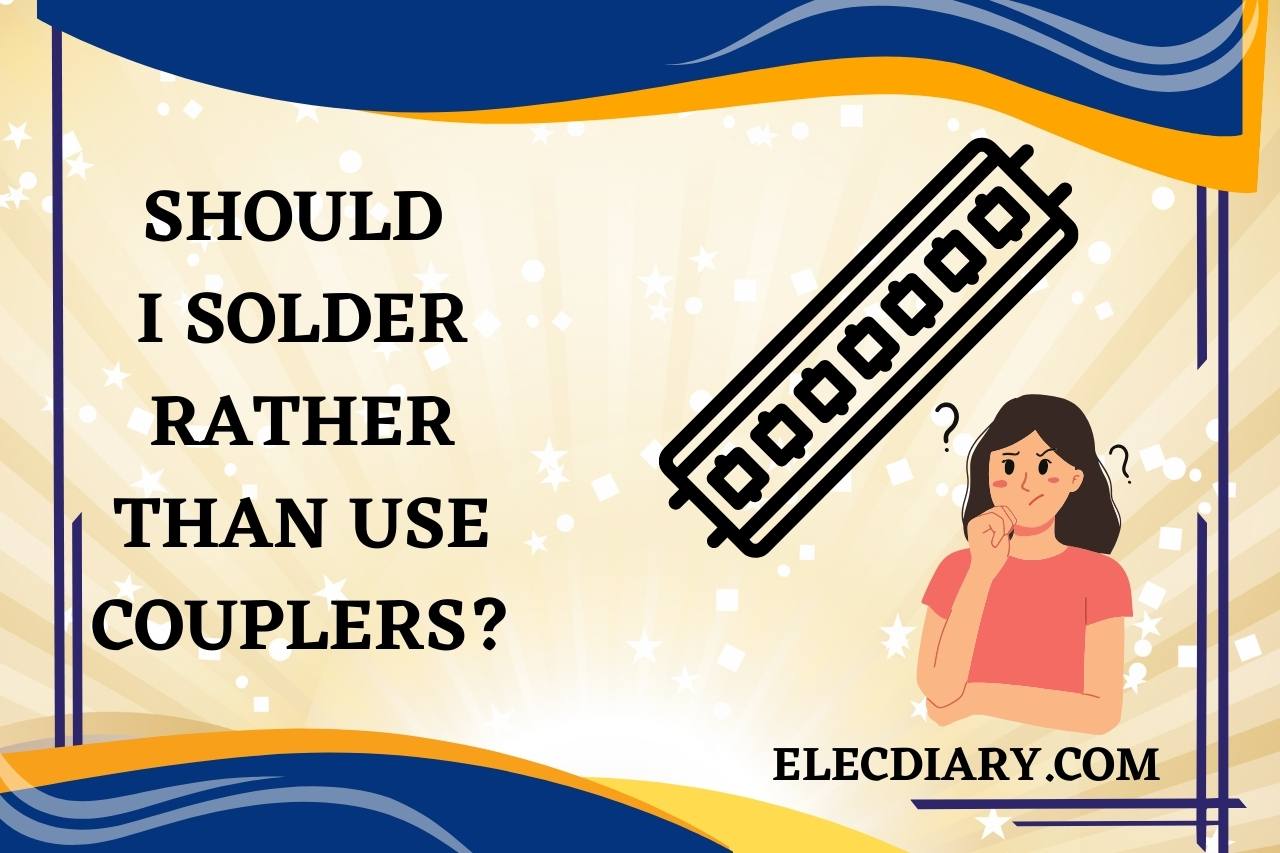
Should I Solder Rather Than Use Couplers?
For bigger installations, we advise soldering your Light Strips rather than utilizing our couplers since, despite the extra work and time required, you will be able to be certain that nothing will move.
The reliability of your lighting system should be something else on your mind the night of a major performance or grand opening. Couplers, also known as connections, are excellent for tiny applications, but soldering is the best choice if you’re building anything that must survive for a long period.
How to Solder LED Strips?
A Soldering Iron
Make sure that you’ve got the right equipment for your welding job prior to attempting to connect the wire to your brightly colored LED strip lighting. Any 30W–60W temp-adjustable soldering iron with a maximum soldering temperature between 500–600°F is advised.
To avoid having to spend an extensive amount of time warming the joint, which might harm elements, it is advisable to use a stronger iron.
However, using an iron that is excessively hot might potentially harm the parts. Additionally, we advise using thin resinous core soldering and keeping a damp sponge or steel pad on hand to clean the soldering iron’s tip.
Your Soldering Instrument Needs Cleaning
The soldering iron’s tip has to be clean if you want to prevent overlapping soldering junctions. If you want to maintain your joints as tiny and spotless as possible, wash the tip of the soldering iron’s tip frequently.
Put a Lock on your RGB LED Strip Lighting
To prevent your RGB LED Strips light from moving while you are soldering iron, use a couple of pieces of wrapping paper to fix it.
The 18-22AWG Imprisoned RGB Wire should be Tinned
Solder the 18-22AWG isolated RGB wire by using a tiny quantity of solder straight on the wire’s strands when your soldering iron has reached the proper temperature. After you’ve finished, your wire ought to be silver in tone and must no longer seem stranded.
The RBG LED Strips have Copper Dots that have been Tinned
The following step involves melting a small quantity of solder and applying it straight to the copper spots on the LED Strip Lights. Avoid applying solder in a way that overlaps; doing so can result in unintended color shifts in your RGB strip of LED light.
Connect the Cable to the Strip Lighting
You may now match the copper spots, and wire to the RGB colors LED Strip Light after you have both tinned them. Set each wire into the copper spots separately, then set the soldering gun over them both to heat them up sufficiently for the solder to begin melting and combine. Take care to hold the object long enough to prevent “cold solder.”
Picture of the Soldered Wire for the Strip Lighting
Your finished product should resemble this after you have correctly connected the cable to the Lighting Strip Light. Keep in mind that the solder connections are neat and do not overlap.
Check the Solder
When your newly connected LED strip is dry, attach it to a reliable power supply and verify that it is connected.
Consider Heat Shrinkage
Peel away the 3M sticky just enough to place heat-shrinkable material across the solder junction. You may use a small quantity of hot glue in place of heat shrinking if you don’t have any.
Retest After Heat Shrink
To safeguard your solder junctions, shrink the heat shrink using a heat gun, after which retest to make sure the connection between them is sound.
How Do I Cut and Solder LED Strips Using Connecting Wire?
The contact points on each of the ends of these wiring may be made visible using wire strippers. All that was left after removing the blue wire were the good (red), negative (black), and power (green) pins.
The light’s LED strip should be cut in between its connectors. Ensure that your cut is in the middle and that there is enough solderable pad on each side.
Use shears or side scissors to make a precise cut along the length for RGB and single-color LEDs. Make careful to only cut upon printed spots that feature a visual of a pair of scissors.
Warm up your soldering iron as needed. Cleaning and tinning the iron’s head before soldering is recommended for optimal results. The solder should be touched to the iron’s point on both ends in order to tin it.
The solder plates on the divided strip light’s two ends must then be tinned. Never heat the solder immediately during soldering; always warm the strip’s target region. Start injecting solder after the region has received enough heat.
Before gluing the wires that connect them onto the length of light, check to make sure they are positioned correctly in relation to the contacts. Wiring diagrams will be used to designate the strips so that they may be connected to other panels or wires.
Additionally, be careful to align any arrows written on each strip in the same way.
Connecting wire should be soldered to the solder terminals on each end of the LED strip lighting.
Now that the LED strip lamps are connected, electricity should be able to travel the whole length of the light strips.
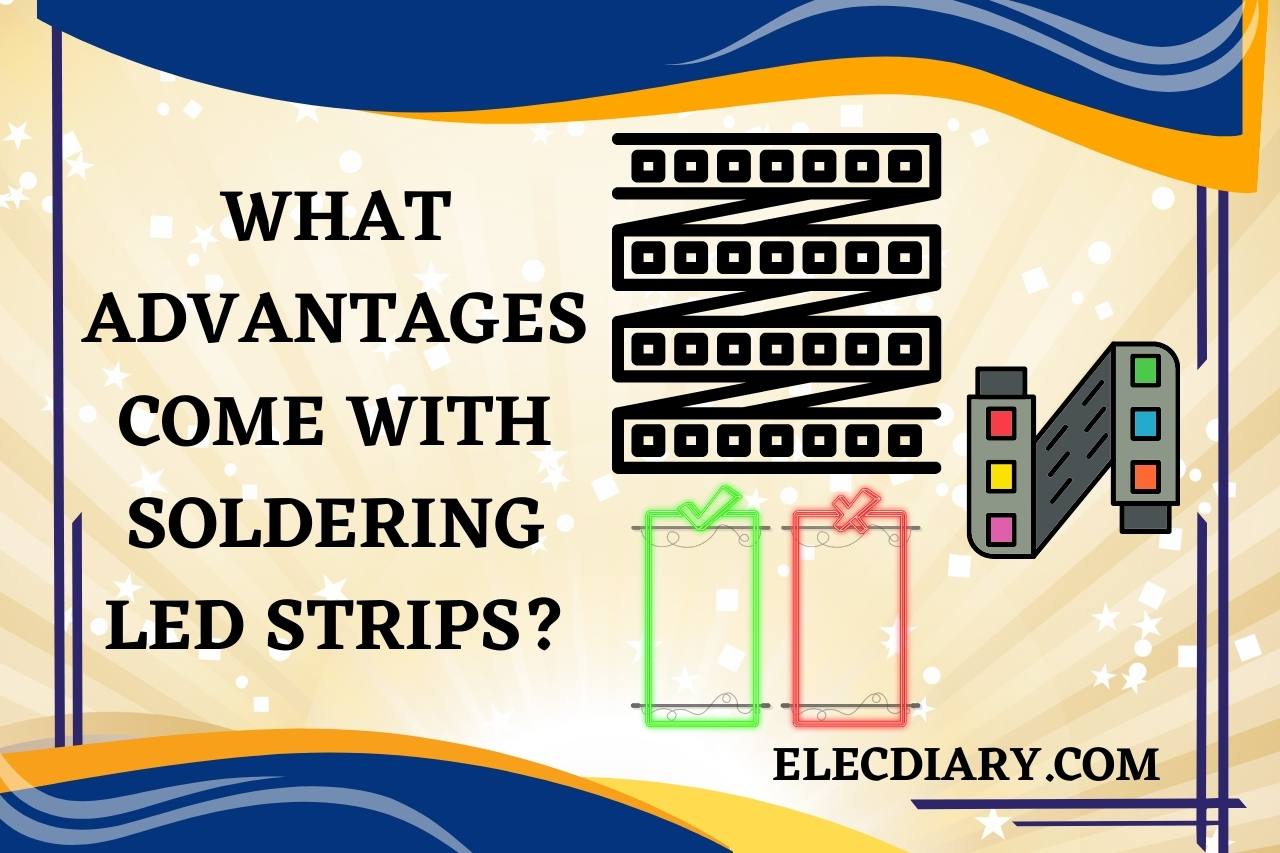
What Advantages Come With Soldering LED Strips?
The product, of which many of us are aware, is more beneficial in ensuring that details are preserved flawlessly. This procedure aids in regulating the object’s temperature to the ideal level.
To fast shift things in a certain direction, the good’s temperature and power data may be immediately detected. In addition, consumers are searching for flashy, immediate solutions to do the task swiftly.
When you have trouble performing basic soldering processes, you may also utilize the electric soldering technique to get things done.
In order for people to fully grasp anything, measurements might be made of its shape, framework, or size.
Is Soldering the Difficult Task?
Yes. Don’t be too upset if you mess up one or two components at first; it happens to everyone. Keep in mind that LEDs dislike excessive heat, whereas irons are hot. Be cautious while using the iron’s temperatures and application time settings.
The majority of the time, getting solder to circulate and adhere to a material shouldn’t require longer than a couple of seconds. When the duration is longer, pause, review this post once more, then play the video once more.
Watch this one,
Video Credits – Wire Guy Global